Your scene should now have all three sections: lights, camera, and object.
//units are in meters
//one light source
light_source {
<20, 35, -2>
color rgb <1, 1, 1>
}
//camera is at eye-level
camera {
location <0, 2, -10>
look_at <0, 0, 0>
}
//the center of the universe
sphere {
<0, 0, 0>
2
pigment {
color rgb <.2, .6, .8>
}
}
 It is time to render so that we can see what our scene looks like. When POV-Ray renders an image, it uses raytracing to convert the text scene description into an image.
First, you need to save the document. POV-Ray will not render the file unless it is saved first. After you save it the first time, POV-Ray will automatically save it every time you re-render it.
We’re rendering an image of a big sphere, so call it something like “Big Sphere.pov”. You usually want your scene files to end in .pov so that POV-Ray will recognize that it owns those files.
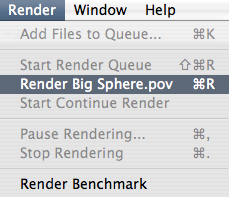
After saving the scene, you can pull down the “Render” menu and choose “Render”. POV-Ray will render your scene to an image file. Depending on your settings, it may also display a preview of the image on your display as it renders.
By default, POV-Ray places the image file in the same directory as the text scene file.
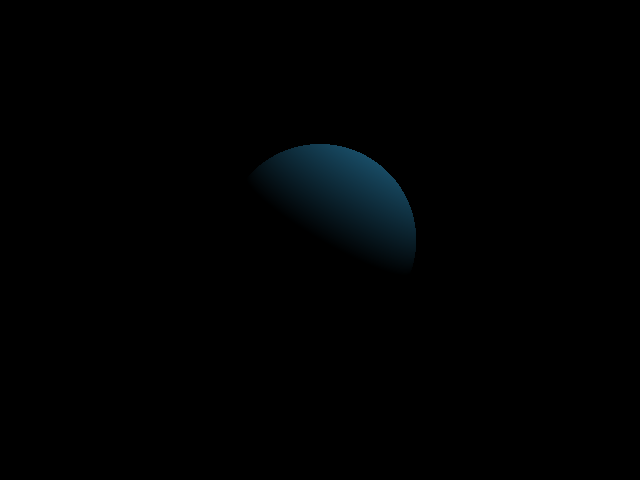
What we end up with is a blue sphere, with a light source up and to the right, against a black background.