Pigment sections truly come into their own when we start using patterns with them. Patterns allow you to have the color vary from point to point according to, well, a pattern. There is a checkered pattern, a brick pattern, an onion pattern, as well as stranger patterns such as a bozo pattern and a crackle pattern. There are, in fact, many different patterns you can use. We’re going to look at two right now. The first is the cylindrical pattern, and the second will be the bozo pattern.
Cylindrical pattern
Patterns can sometimes be a lot easier to show than they are to explain. Go ahead and make a new scene document, and copy everything except the objects into it. Keep only our original cylinder. Your scene file should look like this:
//units are in meters
//get some colors
#include "colors.inc"
// place all settings of globally influenced features here
global_settings {
ambient_light Yellow
}
//one light source
light_source {
<20, 35, -2>
color White
}
//camera is at eye-level
camera {
location <0, 2, -10>
look_at <0, 0, 0>
}
cylinder {
<0, -.01, 0>, <0, .01, 0>, 3.2
pigment {
color Green
}
}
And when you render it you should see a bright green disc in the center of your image.
What we’d like this disc to do is have a rainbow-like range of colors in bands circling it. The pattern that will help us do this is the cylindrical pattern. Replace the pigment section with:
pigment {
cylindrical
}
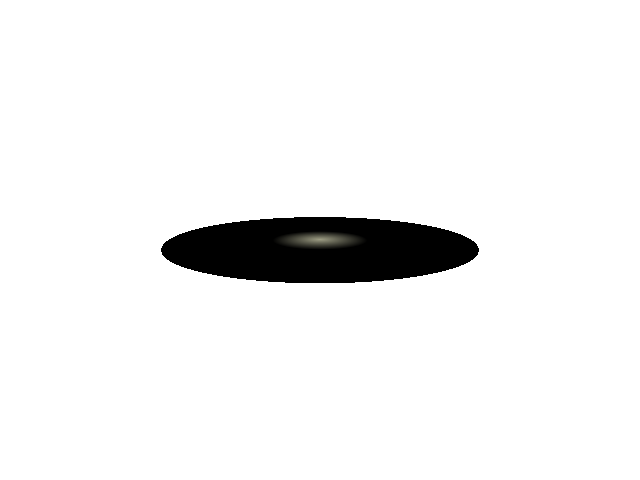
When you render it, our disc becomes quite smaller, a tiny dot in the background radiating from white to black.
However, because our default background is black and our disc is turning black, we may not be seeing everything. Let’s tell POV-Ray to use a different color for the background.
background {
color White
}
 Just put that at the end of your scene, and then re-render.
As you can see, the disc is the same size as it always was, but only the tiny center has the cylindrical pattern applied to it. Everything else is black.
This happens because the cylindrical pattern, like many patterns, expects to see what is called a “unit-sized” object. That is, an object that goes from zero to one. Change the radius of the disc to 1 by replacing “3.2” with “1”.
cylinder {
<0, -.01, 0>, <0, .01, 0>, 1
pigment {
cylindrical
}
}
Now when you re-render, the pattern goes out to the edge of the disc, but that’s because we’ve made the disc smaller. We now need to make the disc large while making the pattern larger as well. We do this by scaling the cylinder after we apply the cylindrical pigment.
cylinder {
<0, -.01, 0>, <0, .01, 0>, 1
pigment {
cylindrical
}
scale <3.2, 1, 3.2>
}
 We’ve added one line: “scale <3.2, 1, 3.2>”. Scale changes the size of the object. And yet again we’re seeing a group of three numbers. These are our familiar x, y, and z. The first number makes the disc larger in the x directions: it multiplies x by 3.2. The second number applies to the y direction, but because we made it 1 the y size (the height) will not change. Multiplying y by 1 leaves us with the same height as before. The third number multiplies z by 3.2.
When applying patterns of this type, it will often be useful to make your object be “unit-sized” before applying the pigment, and then scale it after applying the pigment.
Patterns: Frequency
 That’s nice. We’ve got the disc sized correctly again, but the pattern is not exactly what we want for a planetary-style ring. It needs to go through the cycle of light to dark several times. We can change the number of cycles by adding a frequency line to the pigment.
pigment {
cylindrical
frequency 2
}
Frequency 2 tells it to cycle through the pattern two times. We’re getting closer. Try changing the frequency from 2 to 8.
That’s looking a lot nicer, so let’s bring that pigment back into our main scene. Remember to change the size of your cylinders: change the outer cylinder to radius 1, and the inner cylinder to radius .8:
//ring around the sphere
difference {
cylinder {
<0, -.01, 0>, <0, .01, 0>, 1
}
cylinder {
<0, -.02, 0>, <0, .02, 0>, .8
}
pigment {
cylindrical
frequency 8
}
scale <3.2, 1, 3.2>
rotate <0, 0, 30>
}
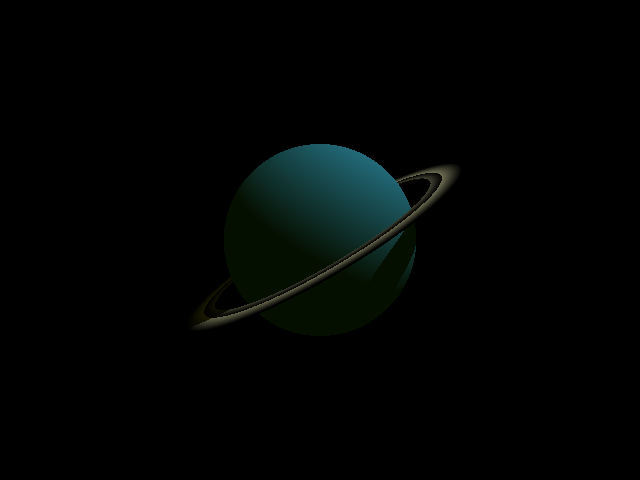
The sphere is now circled by a set of grey rings.
Patterns: Color maps
There are a couple of problems. First, we’ve lost our transparency, and second, we’d really like those rings to be in color. This is where things get tricky. A pattern in POV-Ray almost always has a range of possibilities from zero to one. That’s why we changed our rings to have a radius of 1 first, and then scaled them. We can tell POV-Ray what colors go at which points.
In the case of the cylindrical pattern, the center of the pattern is 1, and the outside of the pattern is 0. Beyond the outside—as in our original disc where the disc was larger than one unit—the pattern continues to be 0.
We can map colors to various points from 0 to 1. We always start at zero and move upwards to one. In the case of our cylindrical pattern, this means that the first color we choose will be at the outer edge, and the last color at the inner edge.
Often when using frequencies greater than one, or when using patterns that repeat, you’ll want the same color at each ends of the “map”. This creates a smooth transition between repetitions.
Here is our color map:
color_map {
[0.00 Magenta filter .5]
[0.30 Yellow filter .5]
[0.45 Green filter .5]
[0.60 Cyan filter .5]
[1.00 Magenta filter .5]
}
Add that to the ring’s pigment section.
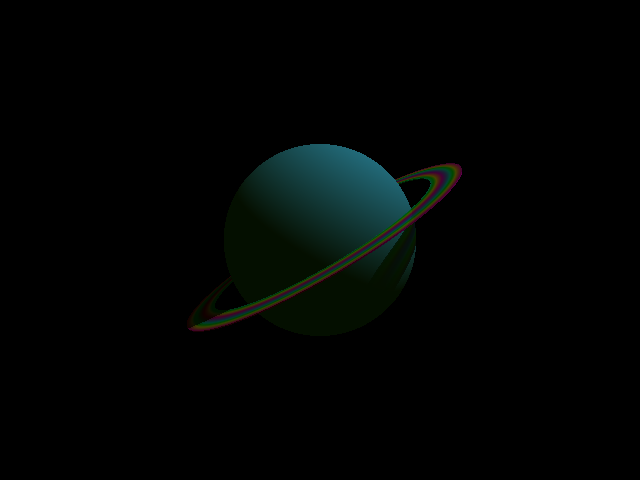
At 0 and at 1 (at the outer edge and the inner edge) the ring will be Magenta. Inside, moving from the outer edge to the inner edge, it will transition from Magenta to Cyan to Green to Yellow and back to Magenta. Since we’ve set a frequency of 8, it will do this eight times from the center of the disc to the edge.
Remember that since we’re only looking at a portion of the disc—we took out the center by using a difference—we don’t see all eight repetitions.
For all colors, we’ve set the filter to 50%. This is what the pigment section of the rings should look like:
pigment {
cylindrical
frequency 8
color_map {
[0.00 Magenta filter .5]
[0.30 Yellow filter .5]
[0.45 Green filter .5]
[0.60 Cyan filter .5]
[1.00 Magenta filter .5]
}
}
Bozo pattern
 Patterns are important enough that we are going to look at another one. The bozo pattern is meant to resemble things that are random when far from each other but that have similar values when close to each other. One of the things that bozos are great for are making cloud-like patterns over a surface. Change the SkyBlue sphere to a bozo pattern.
pigment {
bozo
}
That’s certainly something, isn’t it? Let’s add our own color map instead of using the default.
 pigment {
bozo
color_map {
[0.00 White]
[0.45 SkyBlue]
[0.55 SkyBlue]
[0.70 White]
[1.00 White]
}
}
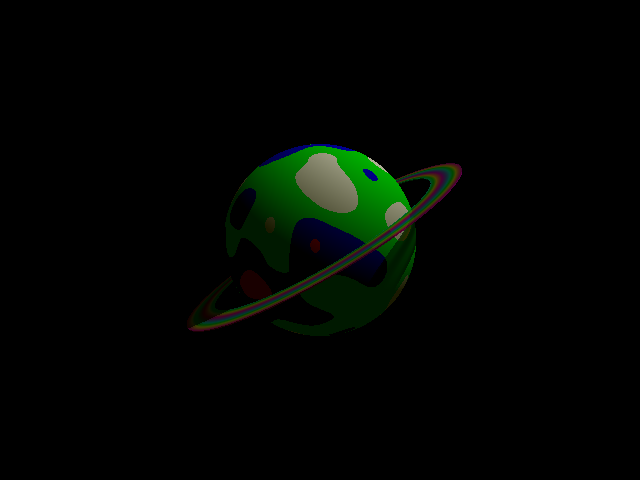
That is a lot nicer. But we can do even better. Every pattern can be warped to change the shape of its contours. The most commonly-used feature of a warp, and the only one we’re going to use here, is turbulence. Turbulence adds random variation to a pattern.
Add:
warp {
turbulence .5
}
to your pigment, so that it reads:
pigment {
bozo
color_map {
[0.00 White]
[0.45 SkyBlue]
[0.55 SkyBlue]
[0.70 White]
[1.00 White]
}
warp {
turbulence .5
}
}
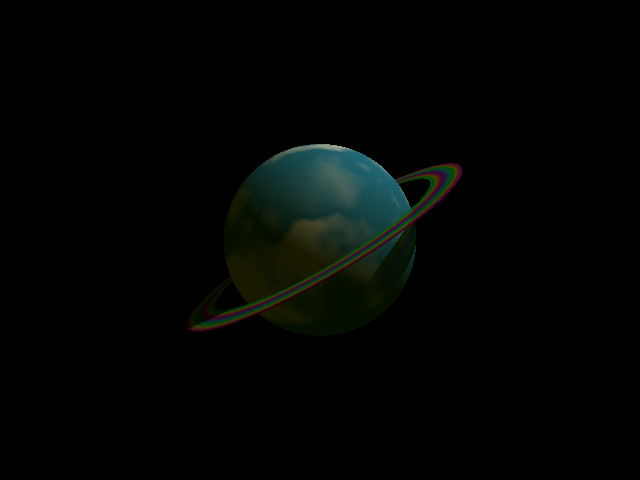
This is beginning to look like a place we’d like to visit.
