National Sandwich Day: Do-it-yourself bread slice guide
Owning a bread machine means slicing my own bread. There’s a reason “best thing since sliced bread” became a popular saying. It’s very hard to get evenly sliced bread the same width at the top as the bottom. This is especially true for people who can’t draw a straight line to save their life—like me.
There are a lot of bread slicing guides available on Amazon and other places, and the reviews for all of them seem to be all over the map. It occurred to me that making one by hand shouldn’t be too hard, and I could do it with scrap wood left over from making bookshelves.
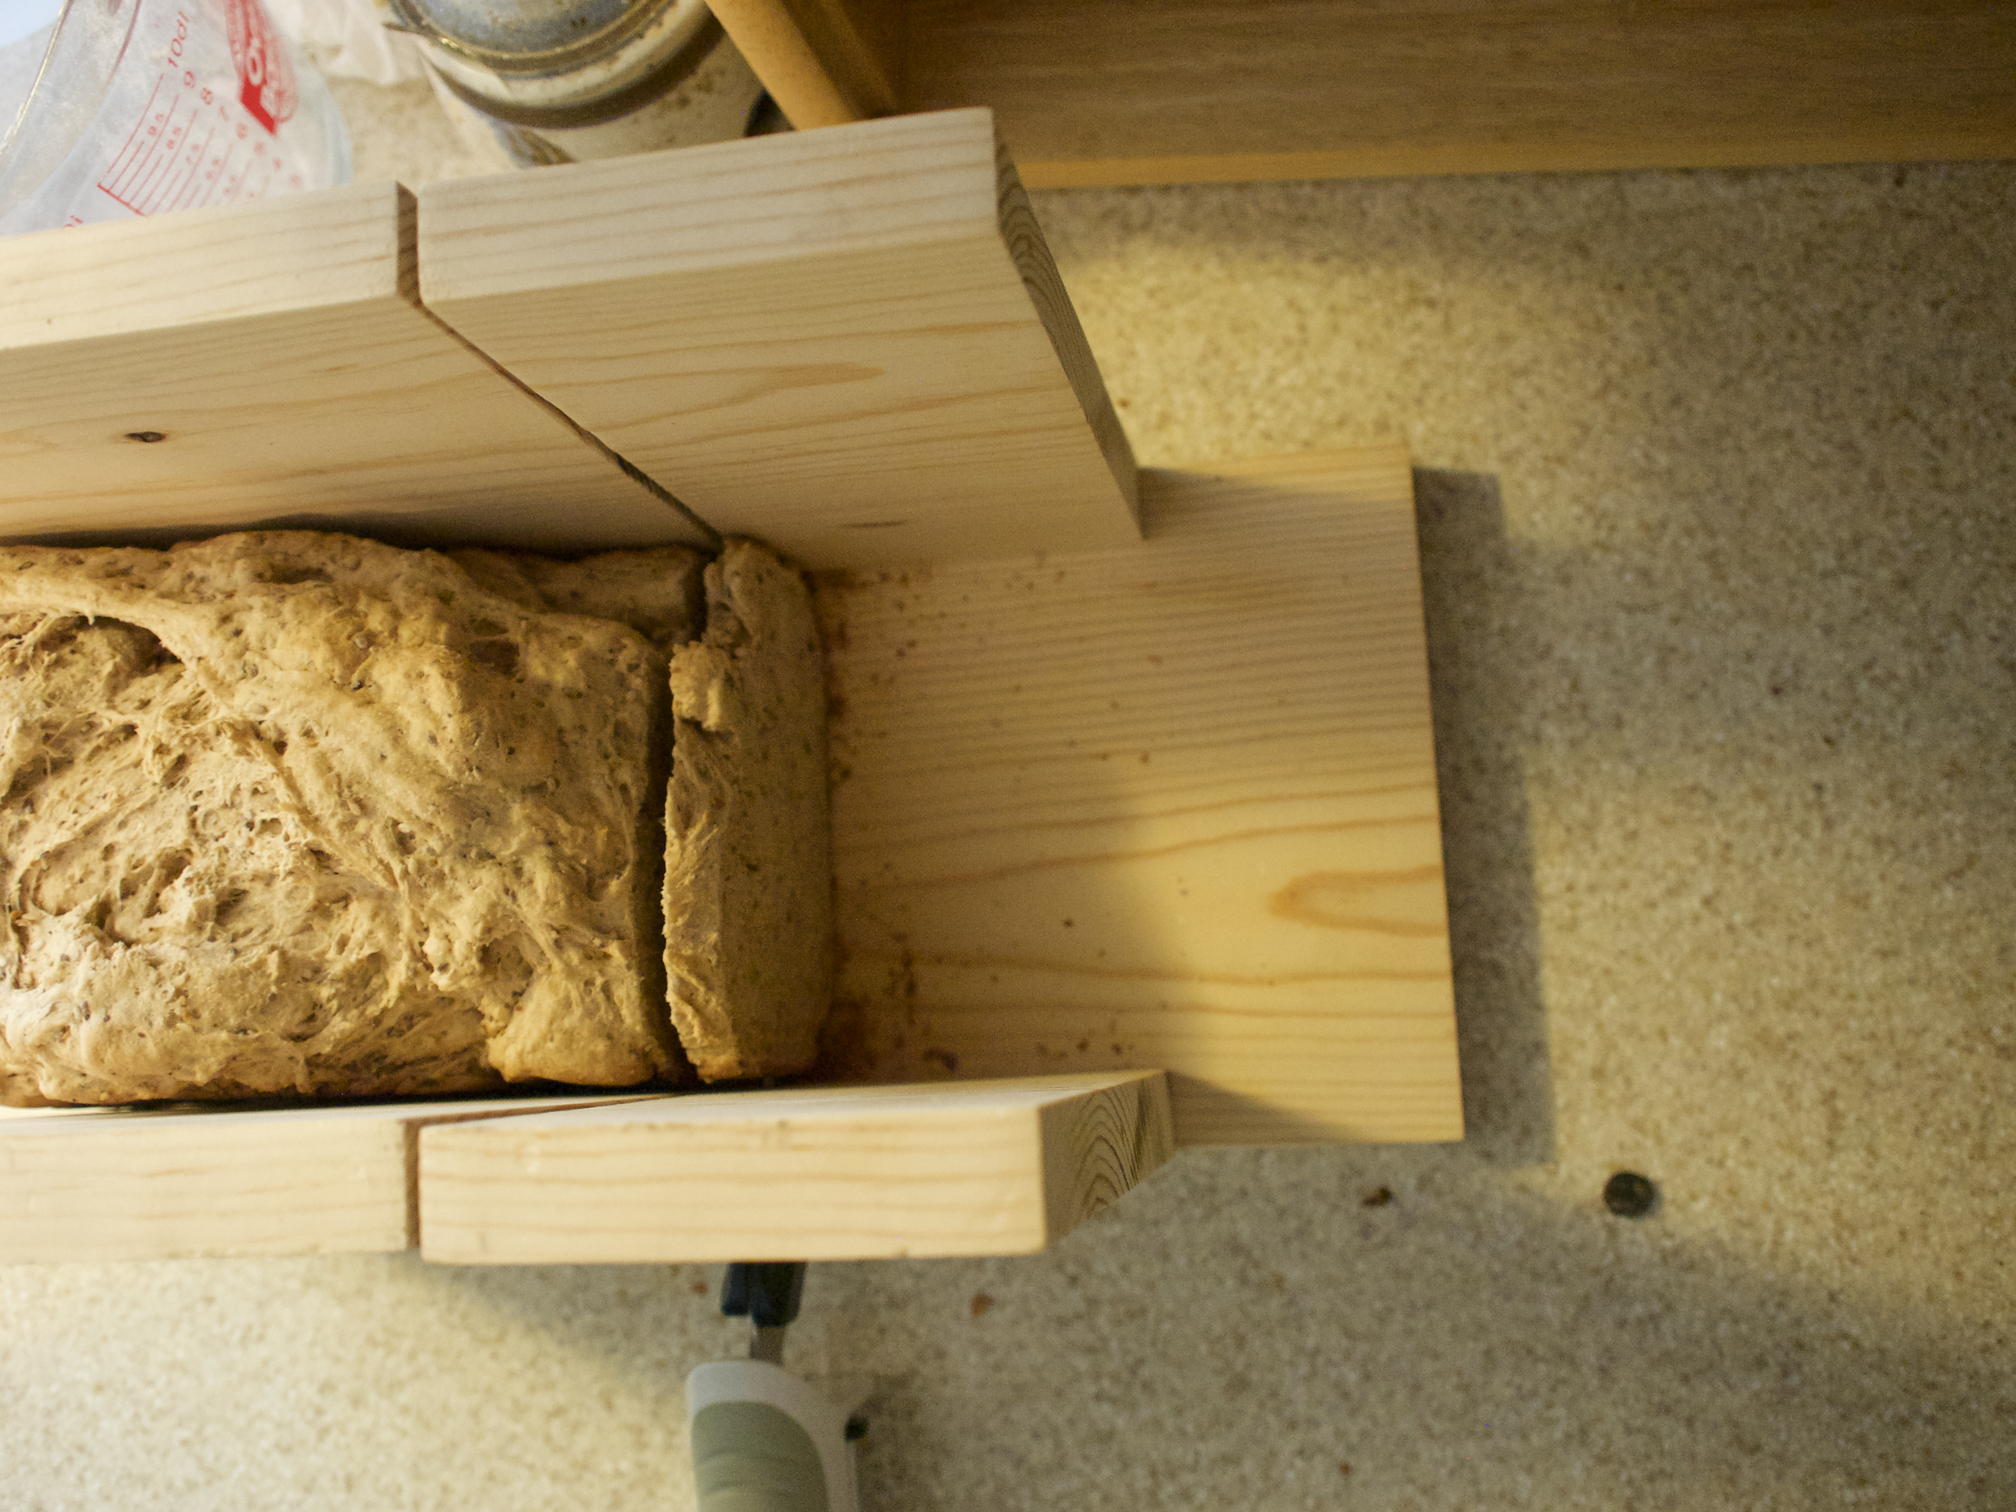
Mine consists of five parts—five pieces of wood, plus, of course, however many nails you feel necessary. I measured the width of a loaf from my bread machine, and that became the width of the inner part of the slicing guide. Since the scrap wood was ¾-inch thick and the slicing guide has two walls, the width of the base was the width of a loaf of bread plus twice that, that is, plus 1 ½ inches.1
The space for the guide is the width of my electric carving knife blade. The two sets of walls are that distance from each other. Something you can’t easily see in the photos is that I’ve also sliced a guide partly through the base, about an eighth of an inch deep and the same width as the blade. This allows the knife to go below the bottom of the bread without wearing itself out on the wooden base. I did this by raising the blade on the table saw only about an eighth of an inch, and cutting a groove through the base that way.2
I have neither dyed nor lacquered the wood, because I haven’t found a wood dye or lacquer that I trust to be food-safe. Or which a clumsy woodworker (me) isn’t likely to screw up. The general advice for staining wood to be used on food is to use stain and then seal it to keep the non-food-safe stain out. But that doesn't seem to me to work when you’re using a blade that is going to cut through the lacquer. In this case, it seems to me that an electric carving knife is likely to break through any lacquer or laminate.
The wood needs to be cut into five parts. I used scrap leftover from 7 ¼-inch wide boards.
- (1) base: 6 ¼ inches wide by 16 inches long with a groove at 10 inches.
- (2) loaf-side walls: 6 inches long by 7 ¼ inches tall.
- (2) slice-side walls: 3 ½ inches long by 7 ¼ inches tall.
Remember, the 6 ¼-inch width of the base depends on the width of your bread. My bread maker makes 4 ¾-inch wide loaves. Adding ¾-inch for the left and right walls comes to 6 ¼. You will need to make your own measurement, adding twice the width of the walls to the width of the loaves. Part of the advantage of a home-made bread slice guide over buying one is that it will be designed specifically for your loaves (and your knife); no wall adjustment is needed to ensure that the loaf is straight as you cut it.
The height of the walls is arbitrary. I used 7 ¼-inch boards, so my walls were 7 ¼-inch tall. Obviously, of course, you’ll want to make the walls at least as tall as the tallest loaf of bread from your bread machine.
The groove at ten inches, besides making it easier to cut through the bottom crust, also makes it easier to line up the walls when you nail them on.
I nailed the walls in through the bottom of the base. I initially thought that might mean the walls would come loose over time, but they haven’t. I also thought I might need to put a brace across the top of the walls to connect them for stability. This, also, turns out not to be a problem. I made this guide over a year ago and use it almost daily. All of the bread I eat comes out of the bread machine, and I slice it as I need it.3 It’s still working great.
Before I made the bread slicer, I slightly improved my slices by buying an electric carving knife4. The guide also works with manual bread knives. Just make sure you make the space the right size for the blade. And don’t forget to look for anything on the blade that will make it wider, such as the clip holding two parts of an electric knife together.
When cutting especially thin slices, I find it useful to put a box on the slice side to keep the slice from tipping over from the top, and breaking in half. Usually there’s a cardboard box of teabags next to my breadbox. I’ve occasionally considered making a 4 ¾-inch block to fit on the slice side of the guide, but I don’t think it would make much if any difference compared to using whatever cardboard box is handy.
So make this and be ready for National Sandwich Day this Saturday! The bread in the photos is sesame-lemon bread from last year’s National Sandwich Day post.
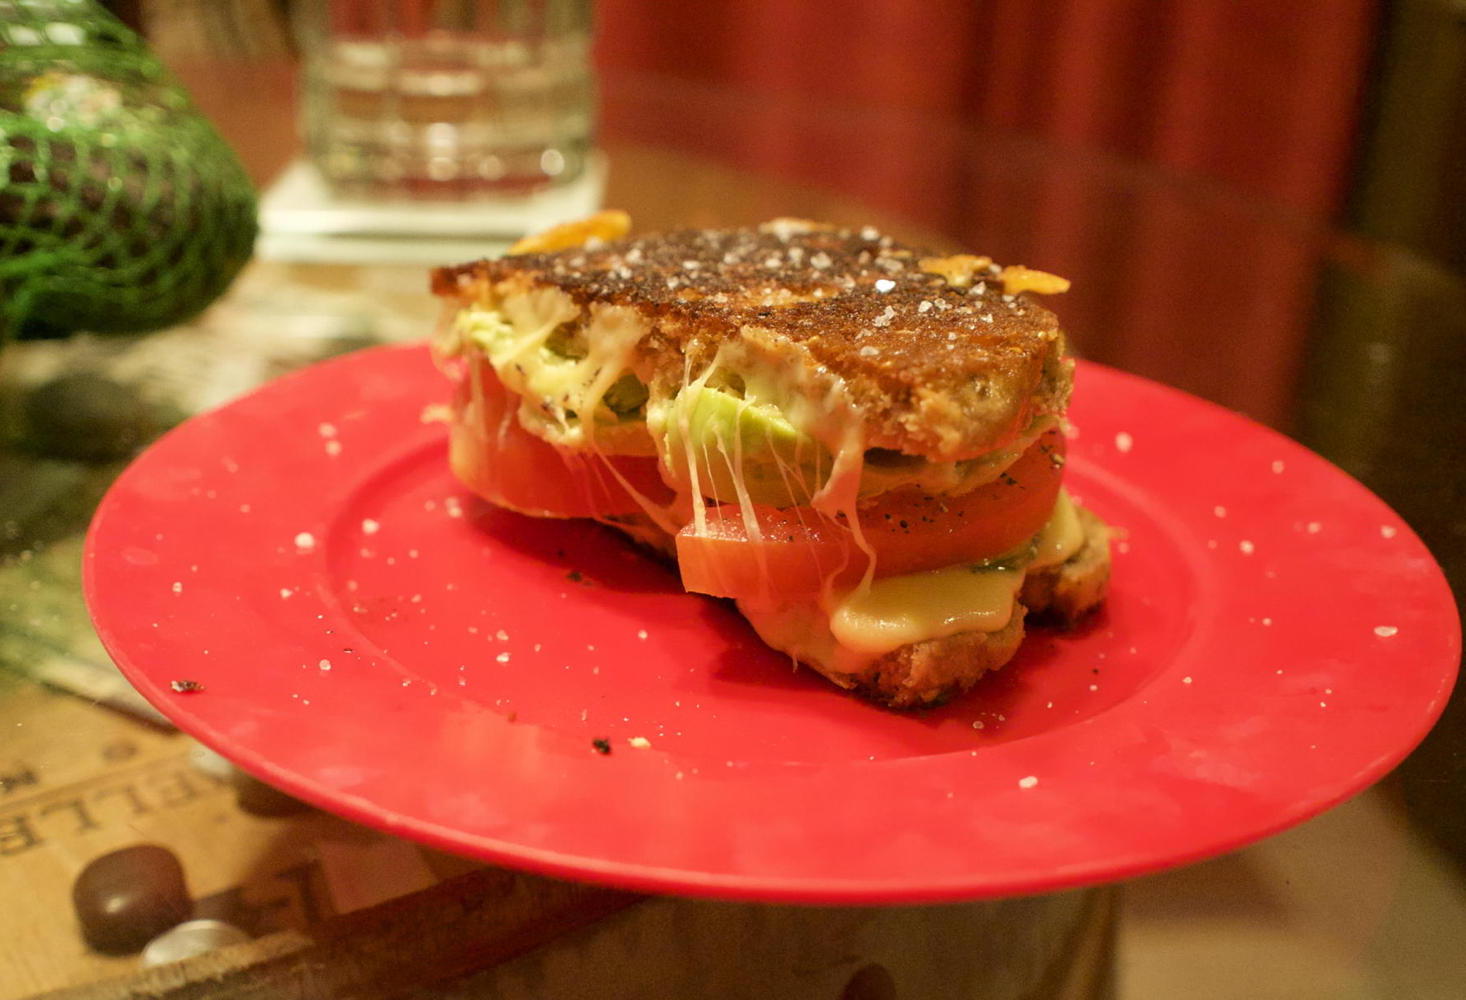
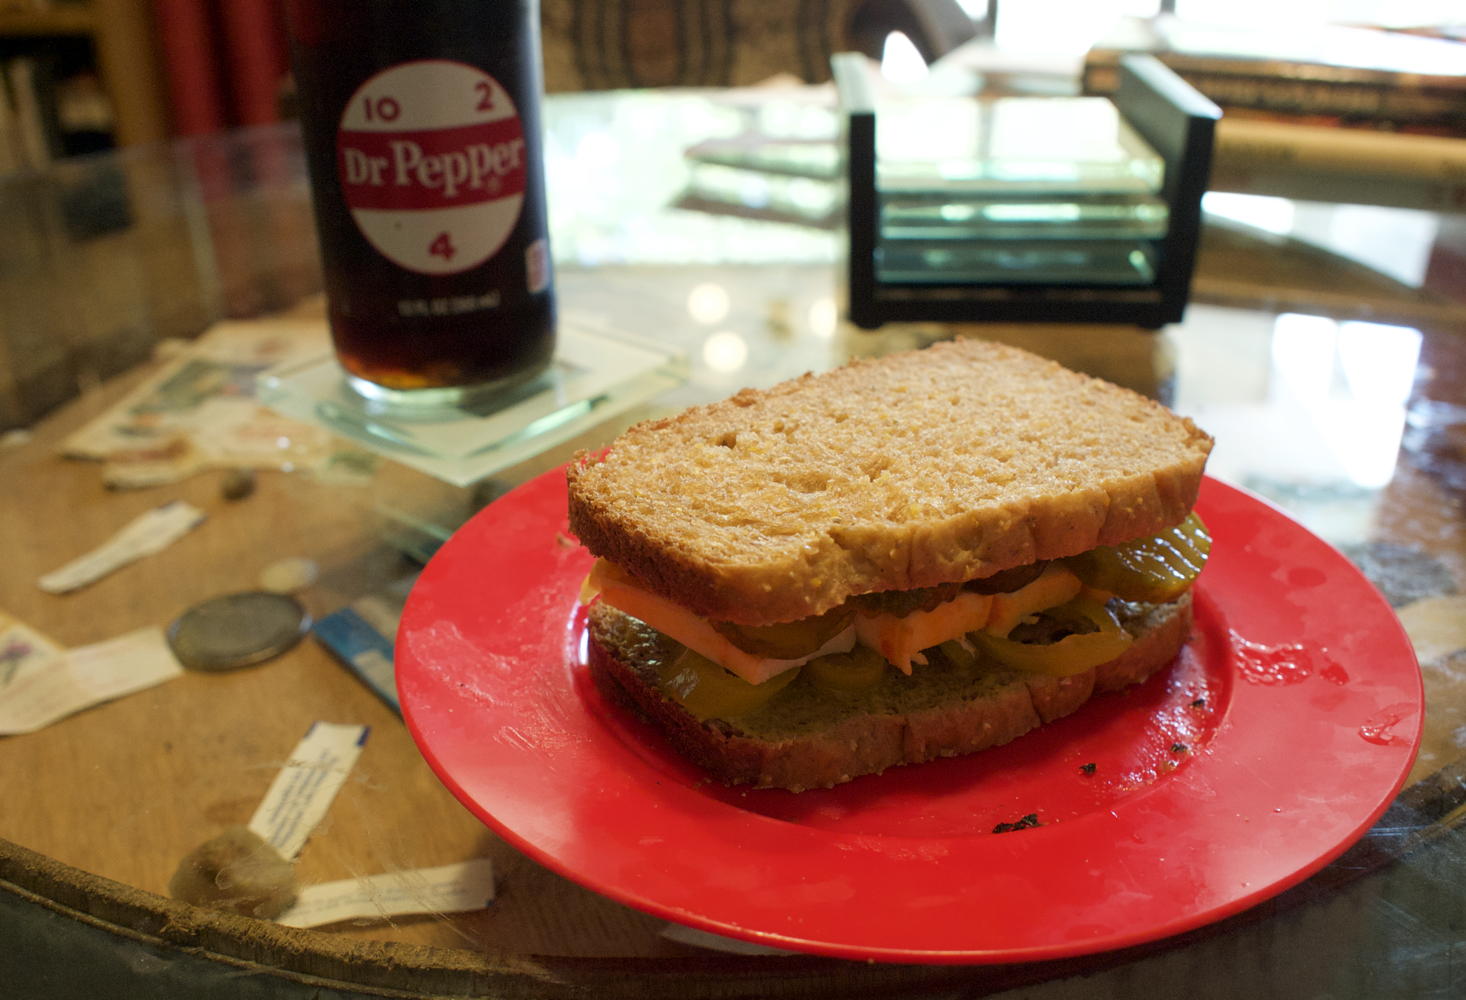
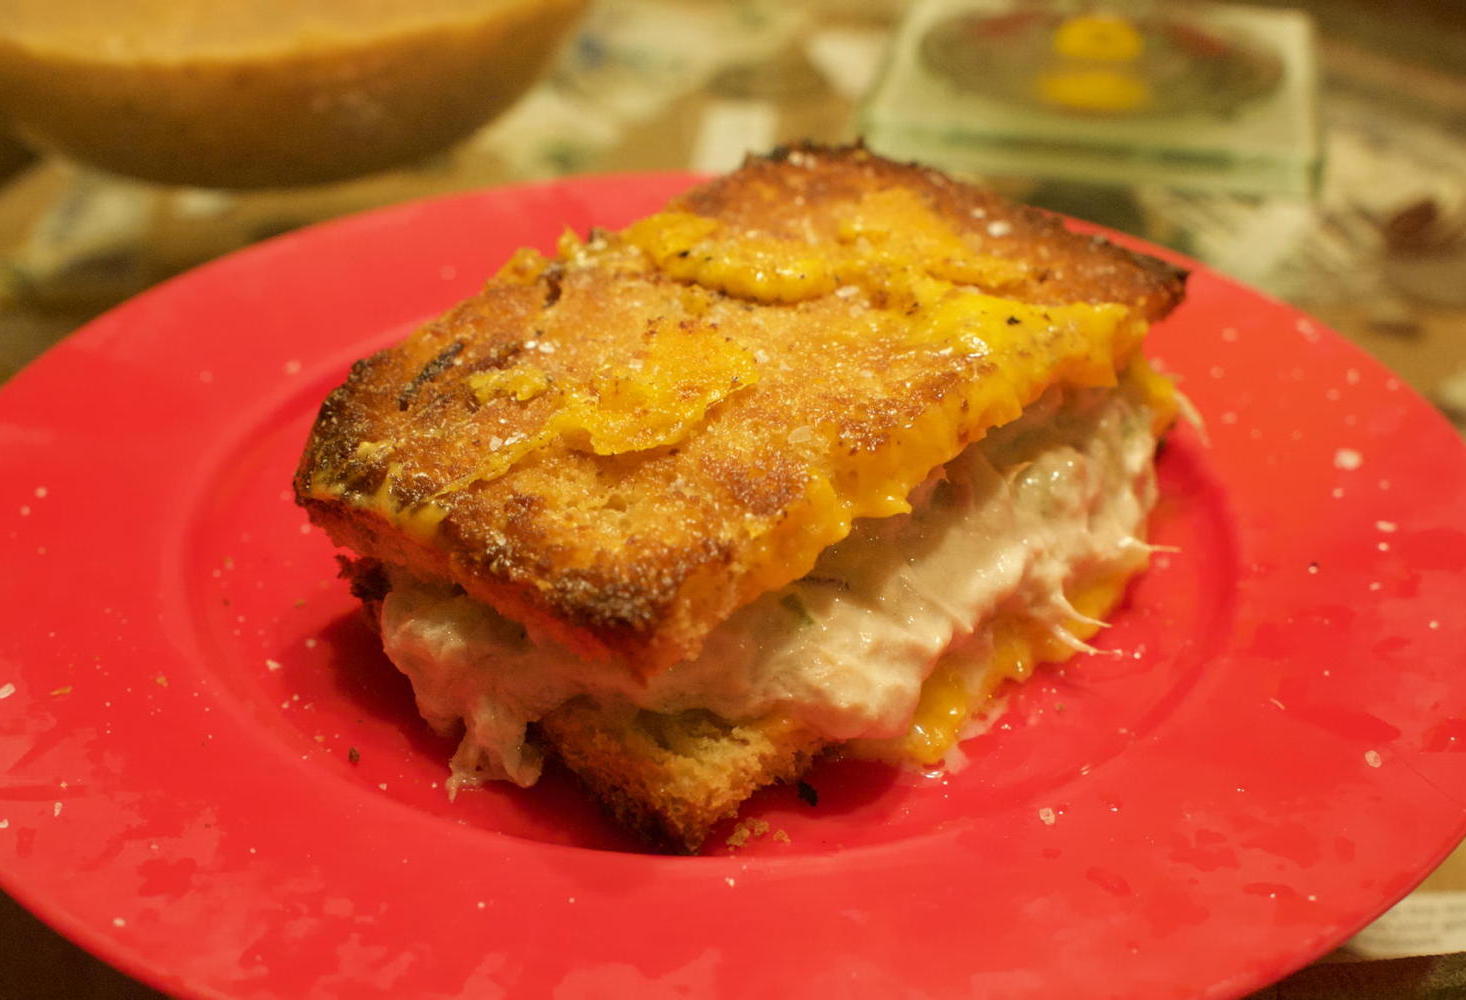
Here are three sandwiches, all cut using this slicing guide, to inspire you for this and future National Sandwich Days.
Left to right: avocado, tomato, and gouda on sesame-lemon bread, from The Enchanted Broccoli Forest•; muenster and pickled jalapeño on third bread, from The Fannie Farmer Cookbook; and tuna salad melt on Easter raisin bread, from The Southern Living Breads Cookbook.
- January 29, 2020: Sealing the bread slice guide
-
My scrap wood bread slicing guide had only one problem: I didn’t know how to protect it or stain it. In the comments, Charles the Simple suggested:
…common mineral oil will seal your slicer. Available at any drug store, just wipe on when necessary.
I got some cheap mineral oil from Walmart—their store brand—and wiped it on several times over several days letting it soak into the wood after each application. The wood, as you can see in the photos, looks nicer now than in the original. In fact, the after-photo doesn’t do it justice. It looks a lot nicer than it used to; I am not a professional photographer (as any reader of this blog is painfully aware) and cannot get the photo to look like the real thing.
I wiped it on by pouring a little oil on the wood, and then spreading it using a paper towel; when done, I used another paper towel to wipe away any obvious excess. Even after wiping the excess away, the mineral oil does make the wood feel oily until it soaks in. It takes a day or two after each application for the wood to start feeling normal again. I did not use the guide for slicing until then, because I didn’t want any bread to soak up mineral oil. While drug-store mineral oil is labeled as safe to eat, it’s usually found in the laxative section. I enjoy whole-grain breads but I don’t need to enhance that aspect of it.
While the main purpose of the mineral oil is sealing the wood— protecting the wood against humidity in the air and from any water in the breads I slice on it—it also highlights the wood grain. It resembles a very light stain. Every once in a while I put more on—just as I would with a wooden breadboard or rolling pin—and every time I do it gets better looking. So if beauty is truth, then this is a necessary step in making a bread slice guide.
This is because I wanted to nail the walls onto the base, as you can see in the photos, to increase their height. If I’d wanted to nail them to the side of the base, then this addition wouldn’t have been necessary. The base would be exactly the width of a loaf.
↑Since I didn’t have a dado blade at the time, I cut this groove by cutting twice, to ensure the correct width. As I recall it was 3/16ths of an inch; since the blade was an eighth inch I adjusted the table saw’s guide wall over 1/16th for the second groove cut.
↑Some of the bread is in the form of rolls, which obviously I will not cut using a bread slicer.
↑The Black & Decker EK700, which worked great. However, it apparently has been discontinued and is selling for well over the $13.47 that I paid for it—and more than double the $19.99 list price. The equivalent may be the Black & Decker EK500•.
↑
- The Enchanted Broccoli Forest•: Mollie Katzen (paperback)
- Required reading for anyone who lived in Ithaca in the eighties, this is the sequel to Mollie Katzen’s Moosewood Cookbook, from the Moosewood Restaurant.
- The Fannie Farmer Cookbook•: Marion Cunningham (hardcover)
- “Originally published in 1896 as The Boston Cooking-School Cook Book by Fannie Merritt Farmer, it became the coobook that taught generations of Americans how to cook. Completely updating it for the first time since 1979, Marion Cunningham made Fannie Farmer once again a household word for a new generation of cooks.”
- The Fannie Farmer Cookbook
- Review of The Fannie Farmer Cookbook, with a recipe for Ham Casserole Country Style.
- National Sandwich Day: Whole Wheat Sesame Bread
- To be honest, I’m not sure the whole wheat bread from The Enchanted Broccoli Forest is even doable by hand. But I have managed to modify it so that it works very well in a bread machine.
- The Southern Living Breads Cookbook• (hardcover)
- A great book from a great library. Look especially for Texas golden puffs, Onion bread, and Easter raisin bread.
- The Southern Living Cookbook Library
- One of the best magazine-related cookbook series is also the one of the hardest to find. The Southern Living Cookbook Library appears to be under the radar of food writers online, but it either had a very low print run or few people want to get rid of their copies.
More bread
- Eddie Doucette’s Potato Bread
- This is an amazing bread for breakfast or sandwiches, easily made in a bread machine. It’s a great choice for National Sandwich Day this Friday.
- Club recipe archive
- Every Sunday, the Padgett Sunday Supper Club features one special recipe. These are the recipes that have been featured on past Sundays.
- The reincarnation of the B6000C bread machine
- The Black & Decker B6000C rises again. Pun intended. The West Bend 47413 three-pound breadmaker is a nearly-exact duplicate of the late, great B6000C.
- Padgett Sunday Supper Club
- Dedicated to the preservation of vintage recipes.
- The Donna Rathmell German Bread Machine Cookbook collection
- Donna Rathmell German’s little cookbooks, from the Nitty Gritty collection, are a great companion to your bread machine and a great lesson in using bread machines to make bread.
- Eight more pages with the topic bread, and other related pages
More National Sandwich Day
- Tomato-cucumber sandwich on sweet bread
- To celebrate National Sandwich Day, this toasted sandwich is a nice change of pace from loaded Dagwood and cheesy layered concoctions. I enjoy the hell out of them, but sometimes I want something simpler.
- National Sandwich Day: Whole Wheat Sesame Bread
- To be honest, I’m not sure the whole wheat bread from The Enchanted Broccoli Forest is even doable by hand. But I have managed to modify it so that it works very well in a bread machine.
- Roast beef for National Sandwich Day
- Sandwiches are not made by bread alone. And this roast beef recipe is a very simple way of making meat for your sandwiches.
- The Donna Rathmell German Bread Machine Cookbook collection
- Donna Rathmell German’s little cookbooks, from the Nitty Gritty collection, are a great companion to your bread machine and a great lesson in using bread machines to make bread.
- Tomato relish and tuna salad
- This Australian tomato relish is great as a relish for burgers and dogs, and as a mix-in for a tuna salad sandwich spread.
- Three more pages with the topic National Sandwich Day, and other related pages
More You Can Build That!
- Battery-operated floor lamp
- A battery-operated lamp removes the need for unsightly and even dangerous cords.
- Sealing the bread slice guide
- Charles the Simple suggested using “common mineral oil” to seal the wood. It works!


Good idea. As a professional woodworker, I can tell you that common mineral oil will seal your slicer. Available at any drug store, just wipe on when necessary.
Charles the Simple in Lake Arrowhead, ca. at 2:58 a.m. November 1st, 2018
lc2vo