Avoiding lockFocus when drawing images in Swift on macOS
Among the coolest uses of command line scripts in Swift on the Macintosh are those that intermediate between images and text. These are the kind of scripts that bring me back to ma jeuness of staying up into the morning hours programming.
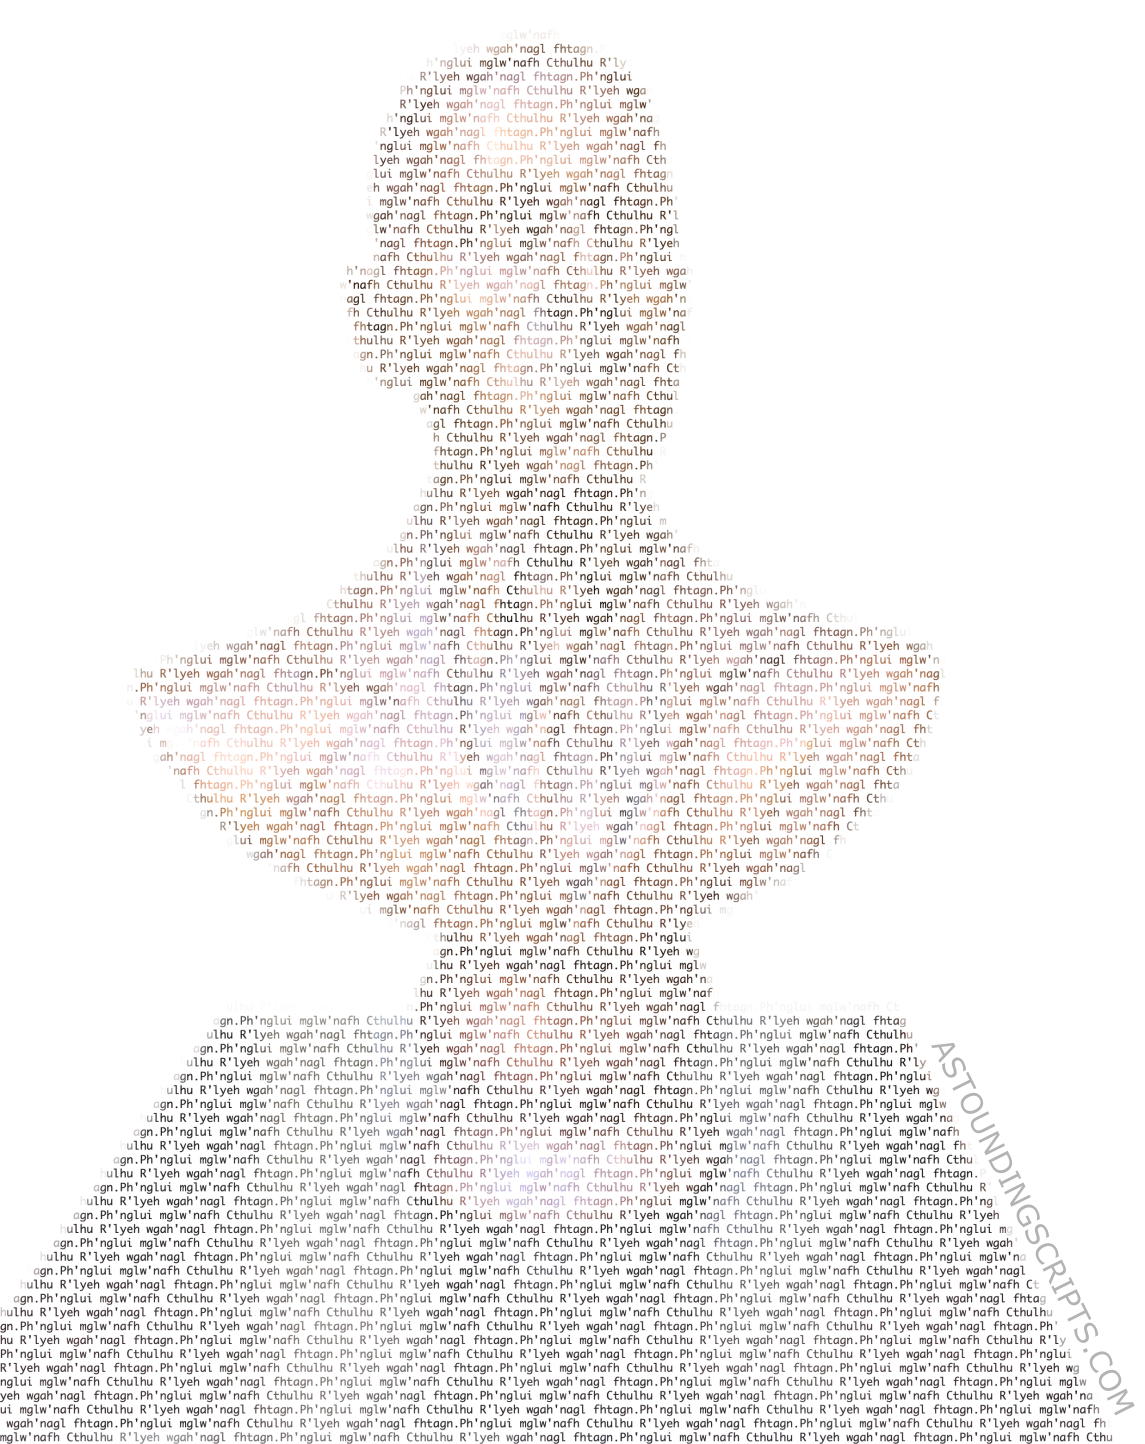
My favorite of these wee hour efforts is a script I wrote for 42 Astoundingly Useful Scripts and Automations for the Macintosh to turn photographs into ascii art. I wrote it to do basically what ascii art used to be, an ingenious method of greyscaling images at very low resolution. But I’ve since extended the script to include color, color overlays, and random color, as well as sequential text instead of text chosen for its density.
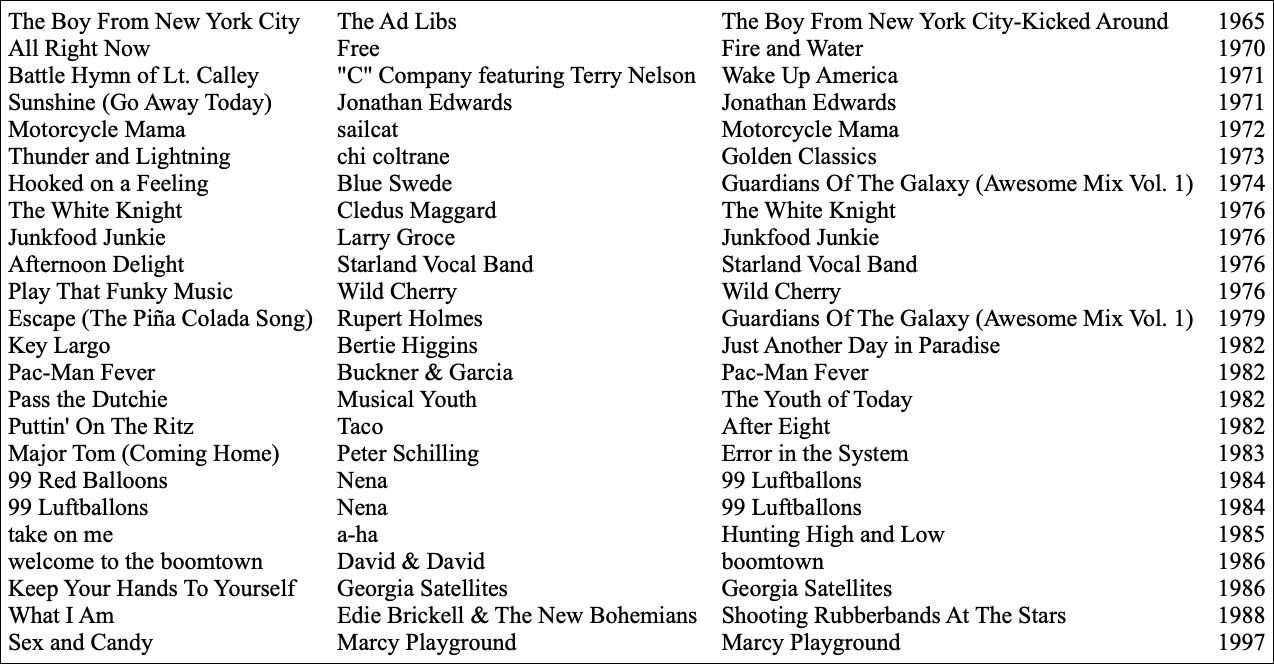
I wrote another script more recently that takes standard input and converts it to an image of the text. Originally for converting tabular data to an image I now use it for taking paragraphs and wrapping them and justifying them or aligning them right or center. It is both a more serious program than asciiArt and more frivolous. It has pretty much only one use case, online outlets that accept images but not tables. If you’ve read 42 Astounding Scripts, this is an image-oriented variation of my alignTabs script and makeHTMLTable script.
Both asciiArt and text2image take text and create images out of the text. Almost all of the examples of creating images in Apple’s documentation and on sites such as stack overflow assume that you’re creating images to display to the screen. They use lockFocus() to create the image. Most of the few remaining examples continue to use lockFocus probably because that’s what gets used most often for examples.
That’s a problem, because lockFocus does things that only make sense when displaying to a screen, such as automatically changing the number of dots in the image depending on whether your screen is a retina screen. This means that a command-line script written using lockFocus will change its behavior depending on what kind of a monitor you’re using.
While writing text2image I ran across Apple’s page recommending against lockFocus for creating image files. On that page, it said something, albeit without examples, that I hadn’t seen before:
The code in the block should be the same code that you would use between the lockFocus and unlockFocus methods.
That was the key to jettisoning lockFocus.
ASCII Art
The asciiArt script is the only script in 42 Astounding Scripts that I wrote specifically because I was gathering my most-used scripts for a book. While I had long wanted to be able to create ascii artwork from my photos, I hadn’t gotten around to it. Partly this is because I wanted to do it long before the computers I owned had the capability, and by the time they did it was one of those things on the back back burner.
Now that I have it, I use it all the time, so plug for the book.
I originally used lockFocus for the ASCII art script because that’s what all the examples I found used. Because of that, I had to have special code to look up mainScreen.backingScaleFactor so that I could adjust the size of the image.
[toggle code]
- //retina screens provide multiple pixels per dot
-
guard let mainScreen = NSScreen.main else {
- print("Unable to get screen for scale factor.")
- exit(0)
- }
- //calculate new weidth and height
- let newWidth:CGFloat = CGFloat(columns)/mainScreen.backingScaleFactor
If I didn’t do this, I got too many dots in the image.
By shifting from using lockFocus() to using NSImage(size: flipped:) { code }, I was able to not only remove that code, but shorten the part of the script that created the image from 11 lines to 8 lines, and two of those eight were closing braces.
This is the old and new code for resizing the image to have the same number of pixels as the requested character width:
[toggle code]
- //resize image to new width and height
- let newRect = CGRect(x: 0, y: 0, width: newWidth, height: newHeight)
- let newImage = NSImage(size: NSMakeSize(newWidth, newHeight))
- newImage.lockFocus()
- oldImage.draw(in: newRect)
- newImage.unlockFocus()
-
let newImage = NSImage(size:NSMakeSize(newWidth, newHeight), flipped: false) { (newRect) -> Bool in
- oldImage.draw(in: newRect)
- return true
- }
The point of this snippet is to create a one-to-one correspondence between each pixel and the corresponding character from the ASCII palette.
And here’s the old and new code for preparing the ascii artwork for saving to an image file if requested:
[toggle code]
- let outputSize = imageLines.size()
- let outputImage = NSImage(size: outputSize)
- let outputRect = CGRect(x: 0, y: 0, width: outputSize.width, height: outputSize.height)
- //draw the text in the image/rect
- outputImage.lockFocus()
- imageLines.draw(in: outputRect)
- outputImage.unlockFocus()
-
let outputImage = NSImage(size:imageLines.size(), flipped: false) { (outputRect) -> Bool in
- imageLines.draw(in: outputRect)
- return true
- }
If you want to see the full script, it’s in 42 Astounding Scripts in the photos and music chapter. I’ve updated both the ebook and the print version• with the new code.
Text and table to image converter
I needed a script to convert tables to images for Smashwords several weeks ago, and since I already had text-to-image figured out for asciiArt it wasn’t difficult. I ended up adding a bunch of other features, too, such as putting a border around the resulting image.
[toggle code]
-
let outputImage = NSImage(size:outputSize, flipped: false) { (outputRect) -> Bool in
- //fill the image with the background color
- backgroundColor.setFill()
- outputRect.fill()
- //draw the text
- imageLines.draw(in: textRect)
- //draw the border if requested
-
if borderPadding > 0 {
- foregroundColor.setFill()
- outputRect.frame(withWidth:borderWidth)
- }
- return true
- }
Again, I don’t need to create a special outputRect just for drawing the image; NSImage creates it for me and discards it for me after it’s been used. All I have to do is return true if I’ve successfully created the image. The code between the two outer braces, sans return statement, are exactly the code that would go between lockFocus() and unlockFocus() if drawing for the screen.
This snippet creates the image with a background color, fills in the background color (because text only draws the background up to the end of the text), and then the text. If there’s a border, it makes it the same color as the text.
If you want to see the full script, I describe it with examples at Text to image filter for Smashwords conversions.
Resize NSImage
You can use the same technique to resize an image.
[toggle code]
-
func scaleImage(image:NSImage, width:CGFloat) -> NSImage {
- //calculate new height from width
- let height = image.size.height*width/image.size.width
- let scaledSize = NSSize(width: Int(width), height: Int(height))
- //resize image
-
let scaledImage = NSImage(size:scaledSize, flipped: false) { (resizedRect) -> Bool in
- image.draw(in: resizedRect)
- return true
- }
- return scaledImage
- }
As an example of how really nice the Apple routines sometimes are, I did this without any examples. Or, more specifically, I was looking at some very complicated examples and wondered what would happen if I just took the text-drawing code and replaced it with image.draw(). I shouldn’t have been surprised. The description of draw(in:) is:
This method draws the entire image in the specified rectangle, scaling the image as needed.
If I’d thought of searching on scaling an NSImage instead of resizing one, I might have found it without having to guess. Just trying what ought to work is something that works well when using applications on macOS; it’s a pretty good feeling when it happens while programming.
- 42 Astoundingly Useful Scripts and Automations for the Macintosh•: Jerry Stratton at Amazon.com (paperback)
-
 If you have a Macintosh and you want to get your retro on, take a look at 42 Astoundingly Useful Scripts and Automations for the Macintosh. These modern scripts will help you work faster and more reliably, and inspire your own custom scripts for your own workflow.
- 42 Astoundingly Useful Scripts and Automations for the Macintosh
- MacOS uses Perl, Python, AppleScript, and Automator and you can write scripts in all of these. Build a talking alarm. Roll dice. Preflight your social media comments. Play music and create ASCII art. Get your retro on and bring your Macintosh into the world of tomorrow with 42 Astoundingly Useful Scripts and Automations for the Macintosh!
- Cocoa Drawing Guide at Apple Developer Tools
- “If your app uses the lockFocus and unlockFocus methods of the NSImage class for offscreen drawing, consider using the method imageWithSize:flipped:drawingHandler: instead (available in OS X v10.8). If you use the lock focus methods for drawing, you can get unexpected results—either you’ll get a low resolution NSImage object that looks incorrect when drawn, or you’ll get a 2x image that has more pixels in its bitmap than you are expecting.”
- NSImage.draw(in:) at Apple Developer Tools
- “Draws the image in the specified rectangle, scaling the image as needed.”
- Text to image filter for Smashwords conversions
- Smashwords has very strange requirements for ebooks. This script is what I use to convert books to .doc format for Smashwords, including converting tables to images.
More Astounding Scripts updates
- Catalina: iTunes Library XML
- What does Catalina mean for 42 Astounding Scripts?
- Random colors in your ASCII art
- One of the great things about writing your own scripts is that when you need new functionality, you can add it. I needed random colors in a single-character ASCII art image. It was easy to add to the asciiArt script. Here’s how.
- 42 Astounding Scripts, Catalina edition
- I’ve updated 42 Astounding Scripts for Catalina, and added “one more thing”.
- Catalina vs. Mojave for Scripters
- More detail about the issues I ran into updating the scripts from 42 Astounding Scripts for Catalina.
- Big Sur and Astounding Scripts
- Big Sur does not appear to need any changes to any of the scripts in the book.
- Two more pages with the topic Astounding Scripts updates, and other related pages
More macOS tricks
- 42 Astoundingly Useful Scripts and Automations for the Macintosh
- MacOS uses Perl, Python, AppleScript, and Automator and you can write scripts in all of these. Build a talking alarm. Roll dice. Preflight your social media comments. Play music and create ASCII art. Get your retro on and bring your Macintosh into the world of tomorrow with 42 Astoundingly Useful Scripts and Automations for the Macintosh!
- Save clipboard text to the current folder
- Use the Finder toolbar to save text on the current clipboard directly to a file in the folder that Finder window is displaying.
- What app keeps stealing focus?
- I’ve been having a problem on Mac OS X with something stealing focus. Here’s how to at least find out what that something is.
- Enable AirPrint for all connected Mac printers
- I have an iPad and an old workhorse of a printer, an HP 1012 LaserJet, connected to my iMac. I almost never need to print from the iPad, but when I do, handyPrint works.
- AppleScript Preview in Snow Leopard and Lion
- Preview supports AppleScript, but the support is turned off by default. You can enable it with three terminal commands.
- 14 more pages with the topic macOS tricks, and other related pages
More NSImage
- Creating searchable PDFs in Ventura
- My searchablePDF script’s behavior changed strangely after upgrading to Ventura. All of the pages are generated at extremely low quality. This can be fixed by generating a JPEG representation before generating the PDF pages.
- ISBN (128) Barcode generator for macOS
- Building on the QR code generator, this script uses CIFilter to generate a Code 128 barcode for encoding ISBNs on book covers.
- Caption this! Add captions to image files
- Need a quick caption for an image? This command-line script uses Swift to tack a caption above, below, or right on top of, any image macOS understands.
More Swift
- Creating searchable PDFs in Ventura
- My searchablePDF script’s behavior changed strangely after upgrading to Ventura. All of the pages are generated at extremely low quality. This can be fixed by generating a JPEG representation before generating the PDF pages.
- Create searchable PDFs in Swift
- This Swift script will take a series of image scans, OCR them, and turn them into a PDF file with a simple table of contents and searchable content—with the original images as the visually readable content.
- ISBN (128) Barcode generator for macOS
- Building on the QR code generator, this script uses CIFilter to generate a Code 128 barcode for encoding ISBNs on book covers.
- Place a QR code over an image in macOS
- It's simple in Swift to create a QR code and place it over an image from your Photos or from any file on your computer.
- Caption this! Add captions to image files
- Need a quick caption for an image? This command-line script uses Swift to tack a caption above, below, or right on top of, any image macOS understands.
- Three more pages with the topic Swift, and other related pages


